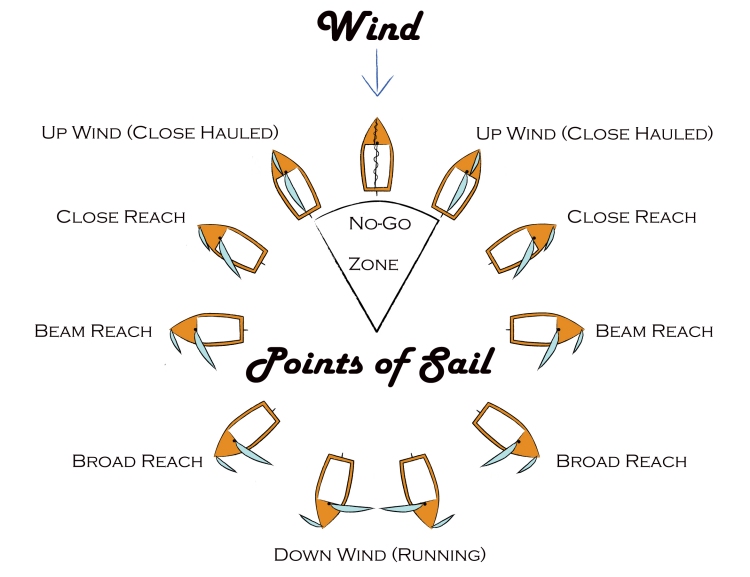
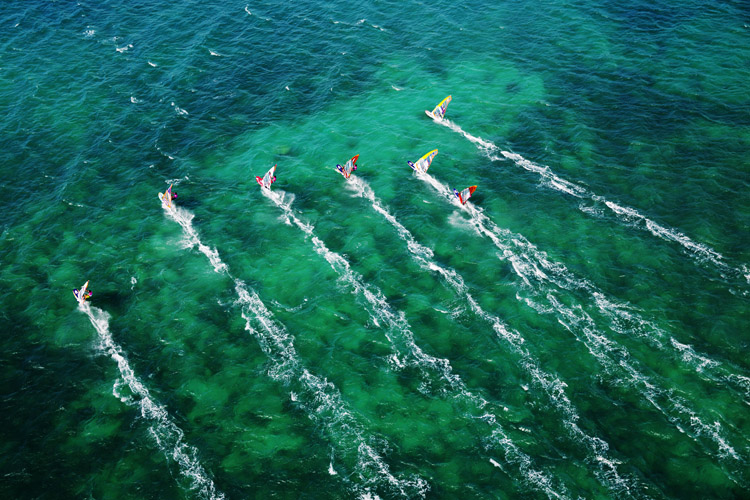
The points of sail represent the range of angles and directions that the windsurfer and the board can sail in relation to the wind.
There are six essential points of sail: the no-go zone, close-hauled, close reach, beam reach, broad reach, and run.
A windsurfer will always be on either a starboard tack or port tack, except when headed to the wind (in irons).
In theory, if you sail in a circle, you will navigate through all of these points of sail.
But before examining the board's orientation in relation to the wind, let's analyze each one individually.
The following diagram will help you understand how the points of sail work.

No-Go Zone
The no-go zone is the area in which no sailing craft can sail.
In the no-go zone, the sail loses power, and you will eventually slow down to a stop.
Close-Hauled/Upwind
You're close-hauled when your sail is at an angle of approximately 45 degrees in either direction to the wind.
This is the closest angle to the wind that you can sail a windsurf board.
Close Reach
You're in close reach when your sail is slightly open at ten o'clock or two o'clock.
This is the fastest point of sail for most sailing crafts.
Beam Reach
You're on a beam reach when the board is across or sideways to the wind at 90 degrees.
It can be a perfect angle for planing.
Broad Reach
You're on a broad reach when the sail generates power from a combination of pull (lift) and push (wind push).
This is the fastest point of sail for many windsurfers.
Run/Downwind
You're on a run when you sail directly downwind. The wind comes over from the back of the board.
This is the slowest point of sail for windsurfers.
Words by Luís MP | Founder of SurferToday.com
